Step-by-step guide: how to paint a perfect circle on your wall
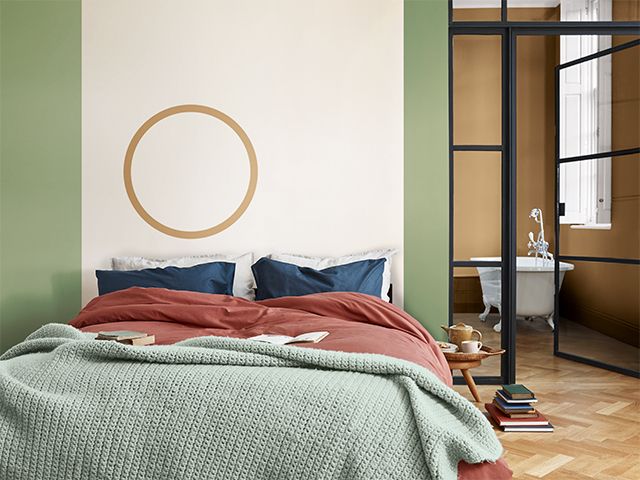
Try painting this statement circle on your wall to add interest to any design-forward space.

Image: Dulux
Eager to experiment with an easy paint effect but not sure where to start?
Try painting a statement circle on your wall with this simple 3-step guide by Dulux.
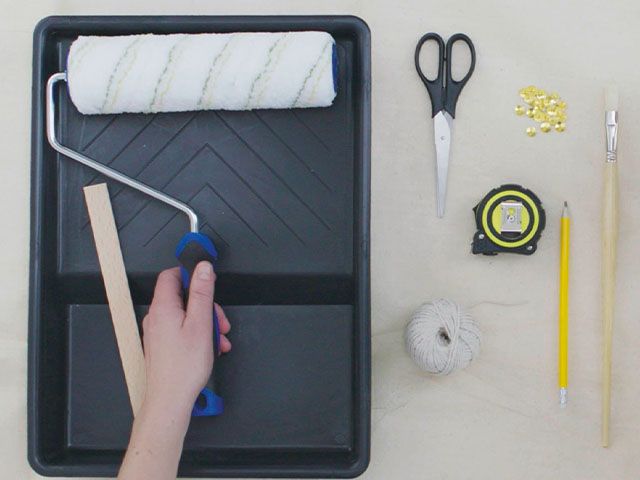
You’ll need
- Leftover paint in your chosen paint colours
- Paint roller
- Paint tray
- Measuring tape
- Pencil
- Ball of string
- Scissors
- Drawing pin
- Slim paint brushes
Step 1: Create your base

Image: Dulux
Dig out some leftover tins and apply your base colour of fresh paint in a shade that will contrast well with your circle motif. Once you’ve applied the new background colour and the paint is completely dry, you’re ready to create your circle.
Step 2: Sketch your circle

Image: Dulux
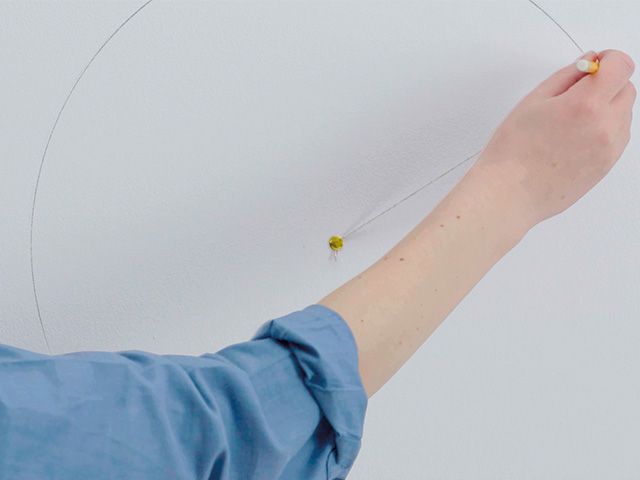
You need to choose where you want to position your circle, so consider where your furniture and accessories will go. Tie a piece of string to the pencil and the other end to the pinpoint, which should then be pushed into the wall where you want the centre of your circle to be. The length of the string will determine the outer diameter of your circle. Holding the string taut, draw a circle on your wall. Next, tighten the string slightly to draw the inner edge of your circle outline.
Step 3: Fill it in

Image: Dulux
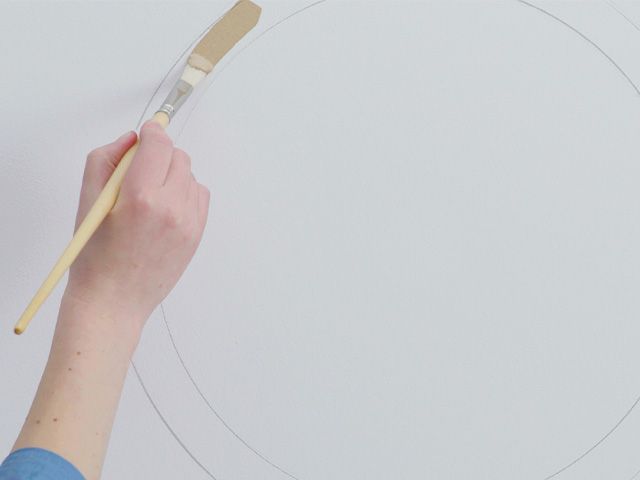
With a fine straight brush, carefully paint in between the two pencilled circles, working away from the top, in both directions in turn, to avoid any smudges. More circles can be created in this way as desired.
Would you give this painting technique a go? Let us know by tweeting us @goodhomesmag or post a comment on our Facebook page.


