DIY Christmas Decorations with Laura Ashley
Save money and get in the festive spirit with Laura Ashley and home fragrance brand, Freckleface by making your own Christmas decorations.
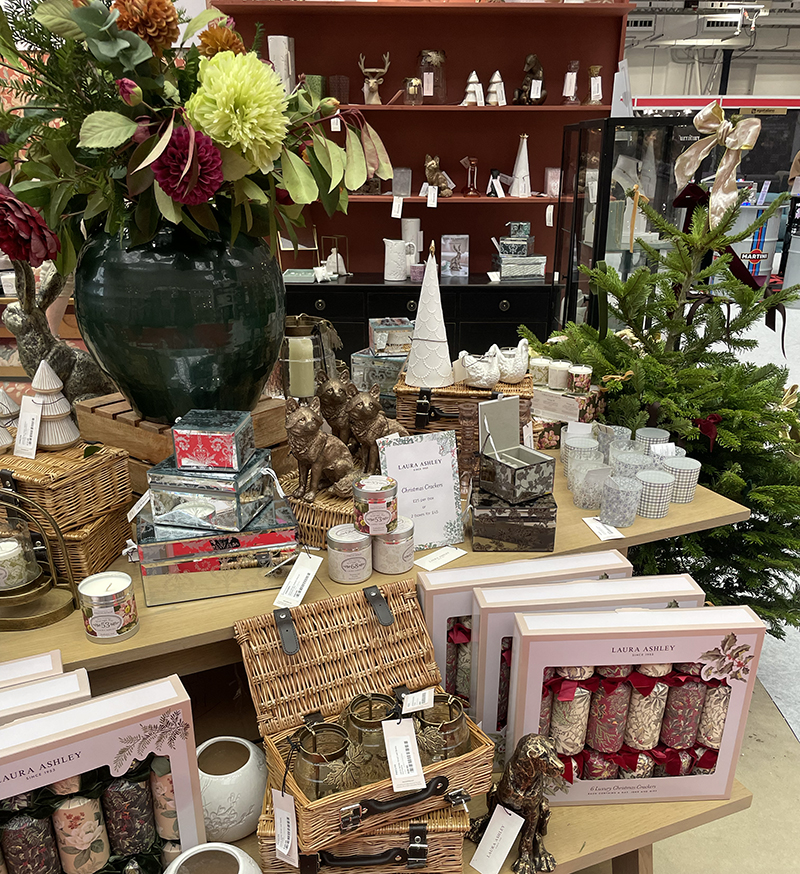
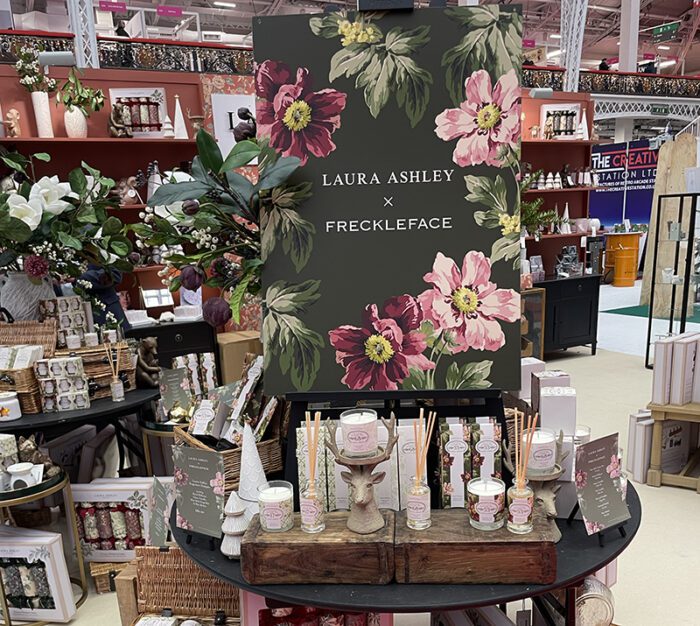
At this year’s Ideal Home Show Christmas, Laura Ashley are showcasing Freckleface and running three workshops to demonstrate how to reuse and recycle this festive season.
Tara, co-founder of Freckleface will be running the workshops, which will show attendees how to create your own scented decorations and gift pouches.
The workshops will run between 11am-12pm on 27th, 28th and 29th November so there is still plenty of time to catch one if you’re ending the show on one of those days.
DIY at home
If you are unable to attend a workshop that day, or can’t make Ideal Home Show Christmas this year, we’ve got the instructions below so you can join in the workshop fun from the comfort of your own home.

Reuse and Repurpose with Freckleface
Create two unique crafts from the Laura Ashley x Freckleface Wax Snap Bar at Ideal Home Show Christmas.
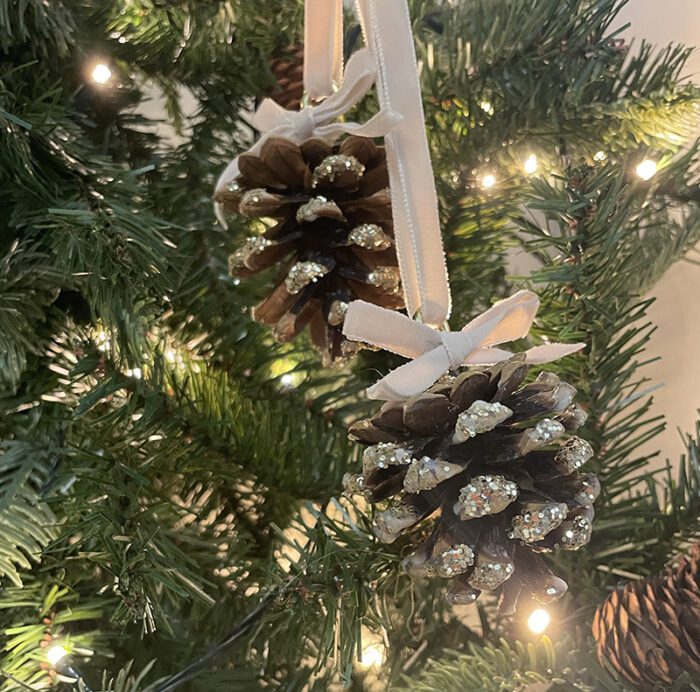
Scented Pinecone Tree Decorations

Create gorgeous, scented tree decorations this Christmas without the hefty price tag or the waste.
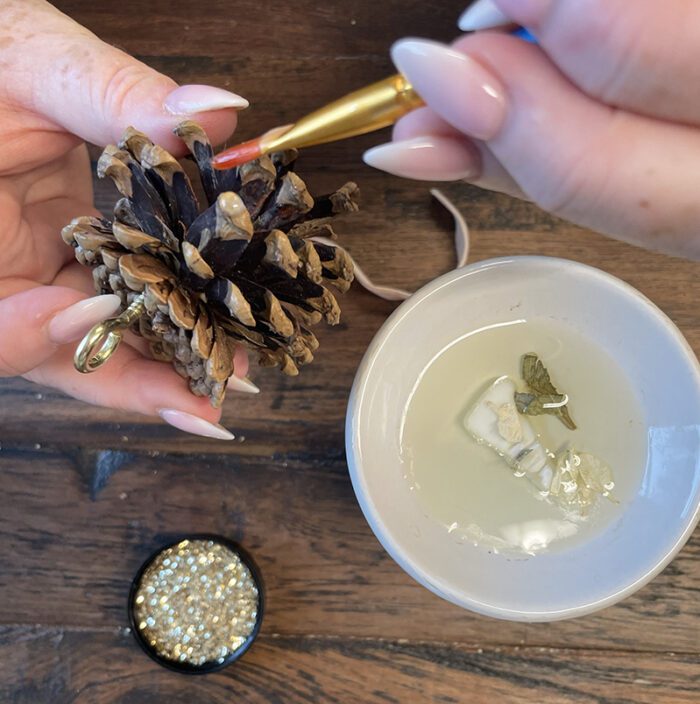
All you’ll need is your favourite Laura Ashley x Freckleface wax melt bar, a wax burner, a small paintbrush, foraged pinecones, and your choice of ribbon and glitter.
The Steps:
- Use a paintbrush to paint the melted wax onto the tips of the pinecone
- Whilst the wax is still wet, place or roll into the glitter
- Place the long piece of ribbon through the eye of the hook and secure with a knot at the top
- Wrap the shorter piece of ribbon around the hook and tie with a bow at the front
- Cut the bow tails with scissors to form a neat point

Gift Pouch
Create an extra special gift pouch for gift vouchers, money or small gifts.
To create you’ll need a wax bar sleeve, glue dots and velvet ribbon.
The Steps:
Unfold the outer sleeve of the packaging so it lays flat, cut the sleeve just below the icon
- Fold your remaining piece back together again then cut out the icon from the other half, into a neat oval shape
- Flatten the white tray and cut out the centre rectangle, cut a piece to cover the back section and secure with four glue dots
- Secure the cut out oval icon to the front to cover the text using two glue dots
Use the hole punch at the top of the pouch and secure it with velvet ribbon, cut the tails to neaten
READ MORE:


