
Step-by-step guide: How to create a painted headboard
Packed with personality, headboards make an excellent addition to a featureless bedroom wall. However, if you’re after something bright and colourful, then you could be looking at a hefty price tag.
Cut the cost with this simple but effective DIY hack from Dulux that will leave you with your very own painted headboard. Plus, with the impressive one-coat formula of Simply Refresh, the whole transformation will only take you an hour tops!
Equipment you will need:
- Measuring tape
- Pencil
- String
- Chalk
- Masking tape
- Small paint roller and tray
- Your chosen shade of Dulux Simply Refresh paint
Step 1
Firstly, you need to decide where you want your painted headboard to be on the wall, and measure up accordingly. Once you’ve sussed out the perfect statement spot, use a measuring tape and pencil to mark the edges and the top line at regular intervals across the wall.
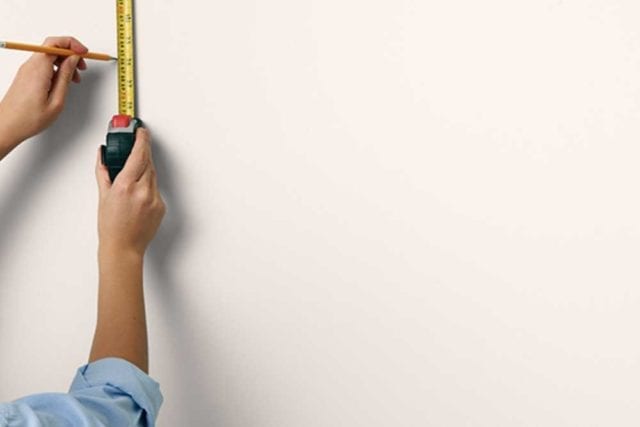
Image: Dulux
Step 2
Cut off a length of string, and run it along the side of your chalk until it’s completely covered. Then, stretch the string across the wall to connect the points you’ve marked up in pencil, and secure each end with masking tape. Check the string is straight, then ping the string to leave a chalk line across the wall. Repeat for the sides of your headboard.
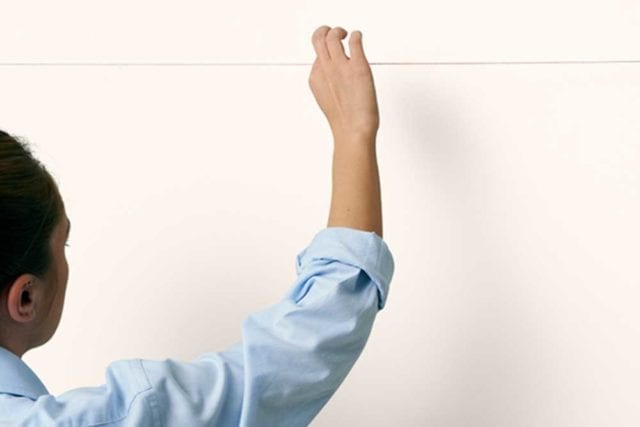
Image: Dulux
Step 3
In order to ensure you’ve got a clear outline to work with, apply strips of masking tape just outside your lines of chalk to create your headboard shape.

Image: Dulux
Step 4
Put some of your paint in your tray, and use the small roller to cover the shape of your headboard. We used Dulux Simply Refresh in the shade Golden Sands. Remember to be careful to paint within the lines!
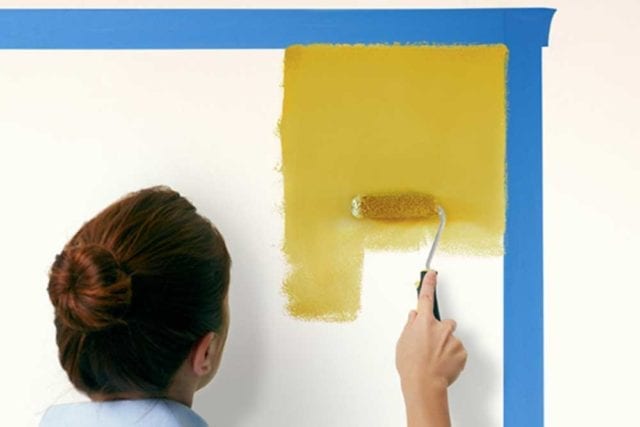
Image: Dulux
Step 5
If you’ve used Dulux Simply Refresh paint, then one coat is all you’ll need. While the paint is still wet, peel off the masking tape to reveal your painted headboard design.
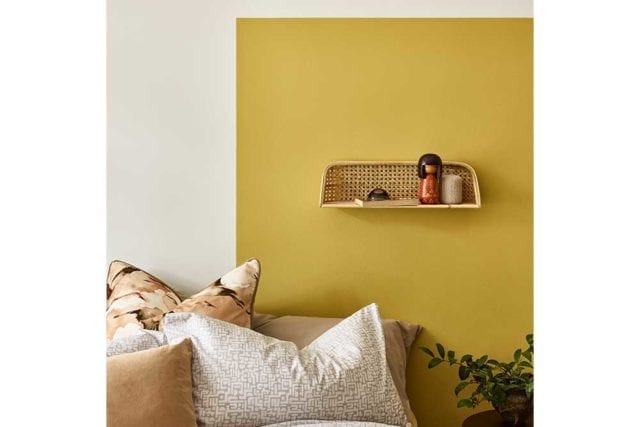
Image: Dulux


